I've been working on a lot of late 19th century and early 20th century sewing projects, so pivoting to handsewing this 1775-1785 gown for an 18th century dinner party was a refreshing change. I've been sewing historical costumes for over a decade, and have made many 18th century separates and accessories, but this was my first 18th century gown!
The idea started over a year ago when Laughing Moon released their new pattern 182 Robe a l'Anglaise Retrousse with inverted back pleats. The pattern was taken from an original gown in the author's collection.
"It has also has been described as a close-bodied gown, English nightgown, or fitted back gown. To describe it in more specific terms, this gown has a fitted bodice with the back bodice and back part of the skirt cut as one piece of fabric. The front bodice, the side skirt, and the front skirt are cut from different pieces of fabric. It can be worn retrousse, or drawn up with inside strings. A notable design element in this pattern is that the back bodice pleats near the center back fold toward the center back, a less common feature as opposed to back pleats that fold away from the center back. The center back has two long bones. The bodice just meets at the center front and is meant to be pinned together and to the stays worn under it."
It is most common for the back pleats of a robe a l'anglaise to face outward, mimicking the effect of stitched down watteau pleats from earlier 18th century gowns. However, there is evidence that gowns with back pleats facing inward exist - Bradfield documents an example in Costume in Detail, below.
Perhaps this was an ambitious design for my first 18th century gown, but the unusual back pleating element had captured my interest. Together with my friend
@lizarottisews we tackled this pattern, which was at times straightforward and at times mind-bendingly complex. Check out her version made from an IKEA duvet cover!
We started with mockups - I ended up making a straight size 8, just pinching out some fullness at the neckline because I have a short length between my bust and shoulders, and a small bust. The pattern is designed for someone 5'4" tall - perfect for me!
I made the dress from 5 yards of
"Brandied Raisin" reproduction printed cotton from Colonial Williamsburg. Five yards was exactly enough for this dress (it has a slight train) - I had only small scraps left. I didn't prewash the fabric as I don't intend to wash the finished gown, and I think the sizing or finish of the fabric actually made the pleating easier. The bodice and sleeves are lined in linen. I sewed the entire gown by hand!
The dress construction starts with basting the long back pleats, which is certainly easier in a crisp fabric like silk. The seam allowance of the side edge of the bodice front panel was folded down and the panel backstitched onto the back panel.
Then the skirt was pleated into the bodice - I ignored the pleating diagrams from the pattern and instead used my seam gauge to make stacked knife pleats that were one inch deep (with 1/4 inch of exposed pleat underneath).
The skirt pleats were sewn with whipstitches to the bodice. At this point, I should have sewn down the long back pleats on the bodice - it was much trickier to sew these after the lining had been installed, as the pattern instructed. The center back was basted together, stopping below the skirt pleats. Another seam further away that runs from the mid-spine to the hem creates a box pleat at center back.
Then it was time to attach the lining. The center back seam of the lining was folded down to create two boning casings; I used artificial whalebone for the boning.
Below, you can see my basting stitches trying to hold the outer fabric and lining in place while I whip stitched the lining onto the pleats. I think something stretched or shifted because there is a bit of puckering on one of the finished back panels!
I must have set the skirt pleats at a different angle or something on one side of my dress, because after trimming the lining seam allowance I didn't have enough fabric to cover the raw edges of the pleats! I patched in a piece of linen to make up the difference.
Later, I sewed twill tape loops and ties in this area to "retrousse" or bustle up the long skirt.
The bodice front and neckline edges were sewn together with a prick stitch, according to the American Duchess Guide to 18th Century Dressmaking book. This part was actually pretty fast and it was satisfying to see so much progress happen so quickly!
Laughing Moon 182 includes an optional front lacing strip. I spent at least 3 days handsewing these, and they are effective, but it was so troublesome for me to lace up the strip over my front lacing stays... tangles and skipped eyelets, etc! I ended up not using the lacing strips at all, but I might if I eventually make stays without center front lacing.


Figuring out the placement of the fabric print at the front of the bodice also took some brain cells, because the print doesn't have an even repeat. I went for a balanced, diagonal placement and accidentally ended up with the vines flowing into each other across the center front - beautiful!
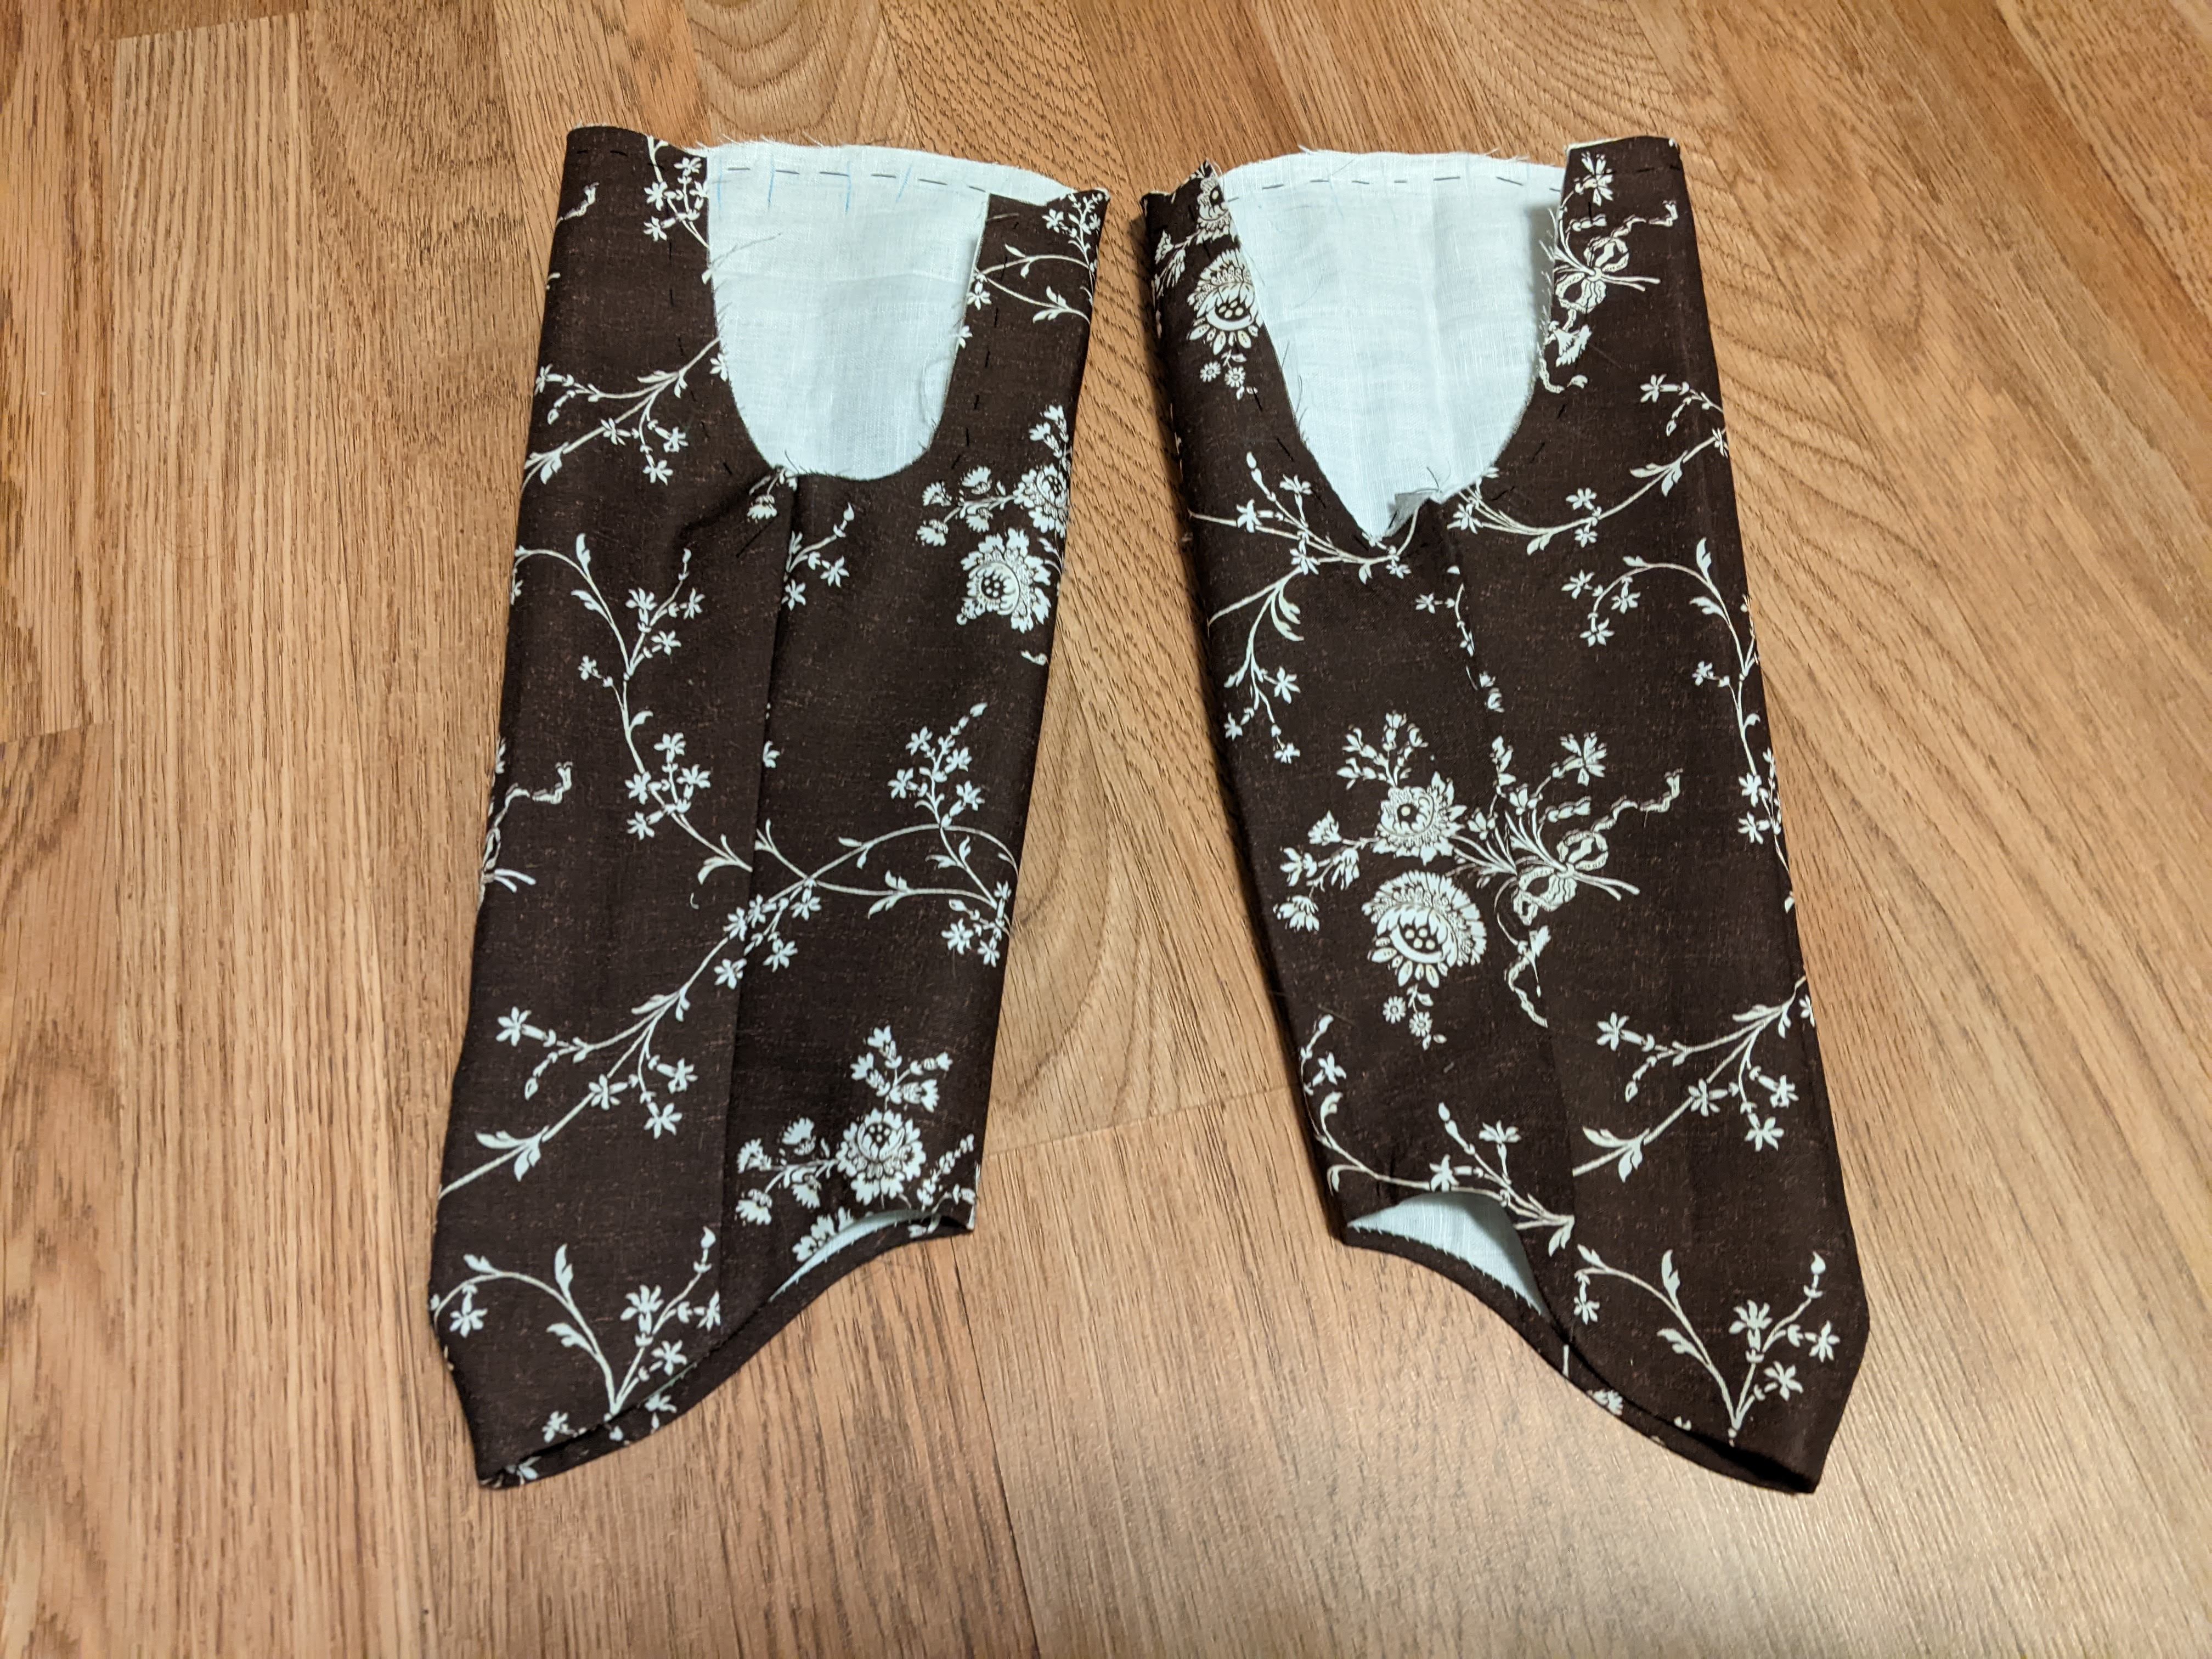
I also used the AD Dressmaking book for constructing the sleeves. Rather than sew an outer sleeve and a sleeve lining and attach them wrong sides together, I followed the AD method of sewing the outer sleeve and lining all in one stitch.
The pattern instructs you to turn the back neckline area of the lining and outer fabric inwards and topstitch, but I was struggling to do this with the stiffness of the center back boning (and I was worried that by removing the boning at this step I could accidentally stitch the boning channels closed). Instead, I used a straight grain strip of fabric, with a triangle shape cut out on the short ends, to enclose the back neckline raw edges.
After the sleeves are pleated into the armhole and back neckline finished, a straight grain strip of fabric covers up the lining and any raw edges around the sleeve head and neckline. I have to hand it to Laughing Moon, they did not skimp on the pattern markings for the sleeves and although it was initially overwhelming to see dots, stars, and squares, all those markings made setting in the sleeves (at least before pleating them) understandable for a beginner.
The gown is a gorgeous staple in my 18th century wardrobe! I wore the gown over a silk petticoat, the Laughing Moon 180 split rump, and my American Duchess Simplicity 8162 stays.
Click here to watch a short video on how I styled my robe a l'anglaise for different seasons and occasions.