HSM # 1 Procrastination - Regency Chemise
In the true spirit of this challenge, I only began sewing my Regency chemise in early February. I had the fabric, a very affordable white cotton lawn from Amazon, since last June, and I had developed the concept for this chemise (part of my senior thesis project) over a year ago! Sewing this chemise was very rewarding. It went together quickly and easily, and it felt especially comforting to make significant progress for my thesis project!
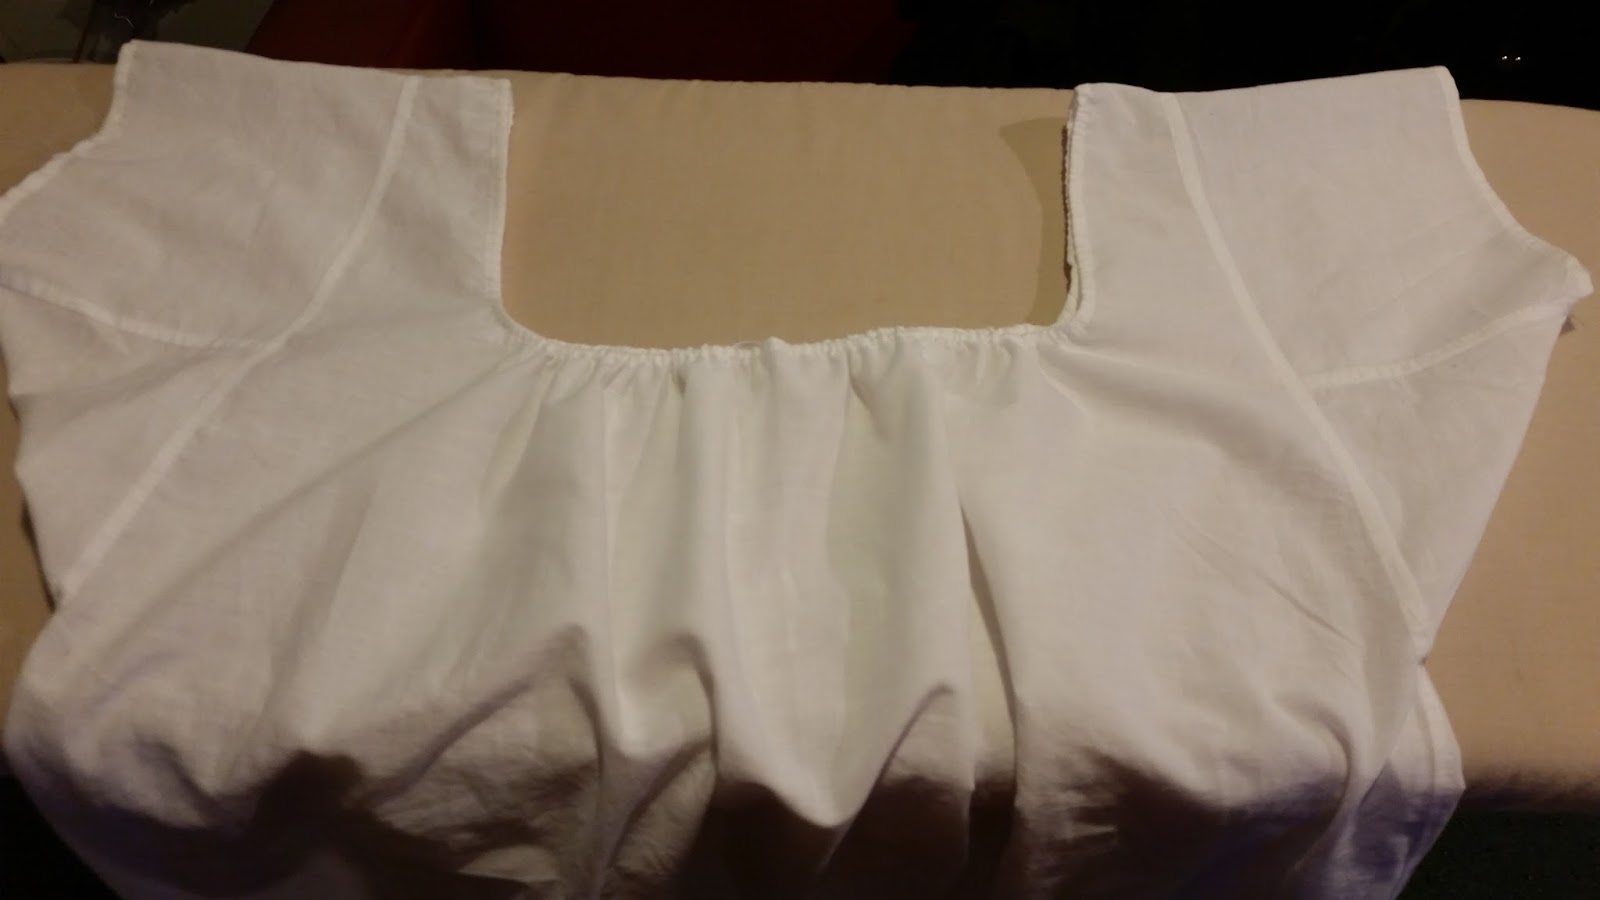
I used the Sense & Sensibility Regency Underthings pattern, which was very easy to follow. I only deviated from the instructions in finishing the neckline. My fabric is sheer and very lightweight, and I was concerned that applying self-fabric bias binding would negatively affect the delicate drape I so loved about this fabric. To make the neckline drawstring casing, I simply narrow hemmed the neckline (1/4 of an inch). Since the neckline casing is so narrow, I added my 1/8 of an inch drawstring before I began sewing, and was careful to not sew through it!


The chemise is sewn entirely by hand, using Gutermann white cotton thread! This was my first entirely hand sewn project. Hand sewing something like a chemise is a great way to practice hand sewing techniques; it is a very portable project, and, if any mistakes are made, they will likely not be seen as this is an undergarment. I averaged about 10-15 stitches per inch.
All seams are flat felled. The hem was turned up 1/4 of an inch, then 1/2 and inch, then stitched with a running stitch.


This was my first time making such small hand-bound eyelets (properly). One of my first sewing projects, my 18th century chemise, had "eyelets" which were more of sloppily slip stitched squarish openings! The tricky part about the eyelets on this Regency chemise is that they needed to be larger than 1/8 of an inch, to accommodate my lacing string, but smaller than 1/4 of an inch, the size of the neckline casing. To achieve precise measurements, I used the following method:
Step 1:
Mark the center front of your chemise (here, I ironed the crease). Determine the distance between the two eyelets. I chose the eyelets to be half an inch away from each other, but they could have been a bit closer. Mark the center of the eyelet (here, I used Frixion pens).

Step 2:
Lay your drawstring over the mark you just made. Draw lines around the top and bottom edges of your drawstring to determine how wide the eyelet needs to be. Use these horizontal lines to draw a circle.

Step 3:
Use an awl to push aside the fibers; this creates the hole around which you will stitch a buttonhole stitch to create the eyelet. I particularly enjoy this tutorial, but there are many tutorials out there.


Historical Sew Monthly Facts
The Challenge: #2 Procrastination
Material: 100% white cotton lawn
Pattern: Sense & Sensibility Regency Underthings
Year: 1795-1815
Notions: 100% white cotton Gutermann thread, 1/8 wide white cotton twill tape
How historically accurate is it?: Accurate assembly and construction methods, not so much fabric content; 90%
Hours to complete: About a week
First worn: Last week, as extremely comfortable pajamas!
Total cost: About $20
I used the Sense & Sensibility Regency Underthings pattern, which was very easy to follow. I only deviated from the instructions in finishing the neckline. My fabric is sheer and very lightweight, and I was concerned that applying self-fabric bias binding would negatively affect the delicate drape I so loved about this fabric. To make the neckline drawstring casing, I simply narrow hemmed the neckline (1/4 of an inch). Since the neckline casing is so narrow, I added my 1/8 of an inch drawstring before I began sewing, and was careful to not sew through it!

The chemise is sewn entirely by hand, using Gutermann white cotton thread! This was my first entirely hand sewn project. Hand sewing something like a chemise is a great way to practice hand sewing techniques; it is a very portable project, and, if any mistakes are made, they will likely not be seen as this is an undergarment. I averaged about 10-15 stitches per inch.
All seams are flat felled. The hem was turned up 1/4 of an inch, then 1/2 and inch, then stitched with a running stitch.
 |
| Flat-felled seam and .5 inch hem |


This was my first time making such small hand-bound eyelets (properly). One of my first sewing projects, my 18th century chemise, had "eyelets" which were more of sloppily slip stitched squarish openings! The tricky part about the eyelets on this Regency chemise is that they needed to be larger than 1/8 of an inch, to accommodate my lacing string, but smaller than 1/4 of an inch, the size of the neckline casing. To achieve precise measurements, I used the following method:
Step 1:
Mark the center front of your chemise (here, I ironed the crease). Determine the distance between the two eyelets. I chose the eyelets to be half an inch away from each other, but they could have been a bit closer. Mark the center of the eyelet (here, I used Frixion pens).

Step 2:
Lay your drawstring over the mark you just made. Draw lines around the top and bottom edges of your drawstring to determine how wide the eyelet needs to be. Use these horizontal lines to draw a circle.

Step 3:
Use an awl to push aside the fibers; this creates the hole around which you will stitch a buttonhole stitch to create the eyelet. I particularly enjoy this tutorial, but there are many tutorials out there.


Historical Sew Monthly Facts
The Challenge: #2 Procrastination
Material: 100% white cotton lawn
Pattern: Sense & Sensibility Regency Underthings
Year: 1795-1815
Notions: 100% white cotton Gutermann thread, 1/8 wide white cotton twill tape
How historically accurate is it?: Accurate assembly and construction methods, not so much fabric content; 90%
Hours to complete: About a week
First worn: Last week, as extremely comfortable pajamas!
Total cost: About $20