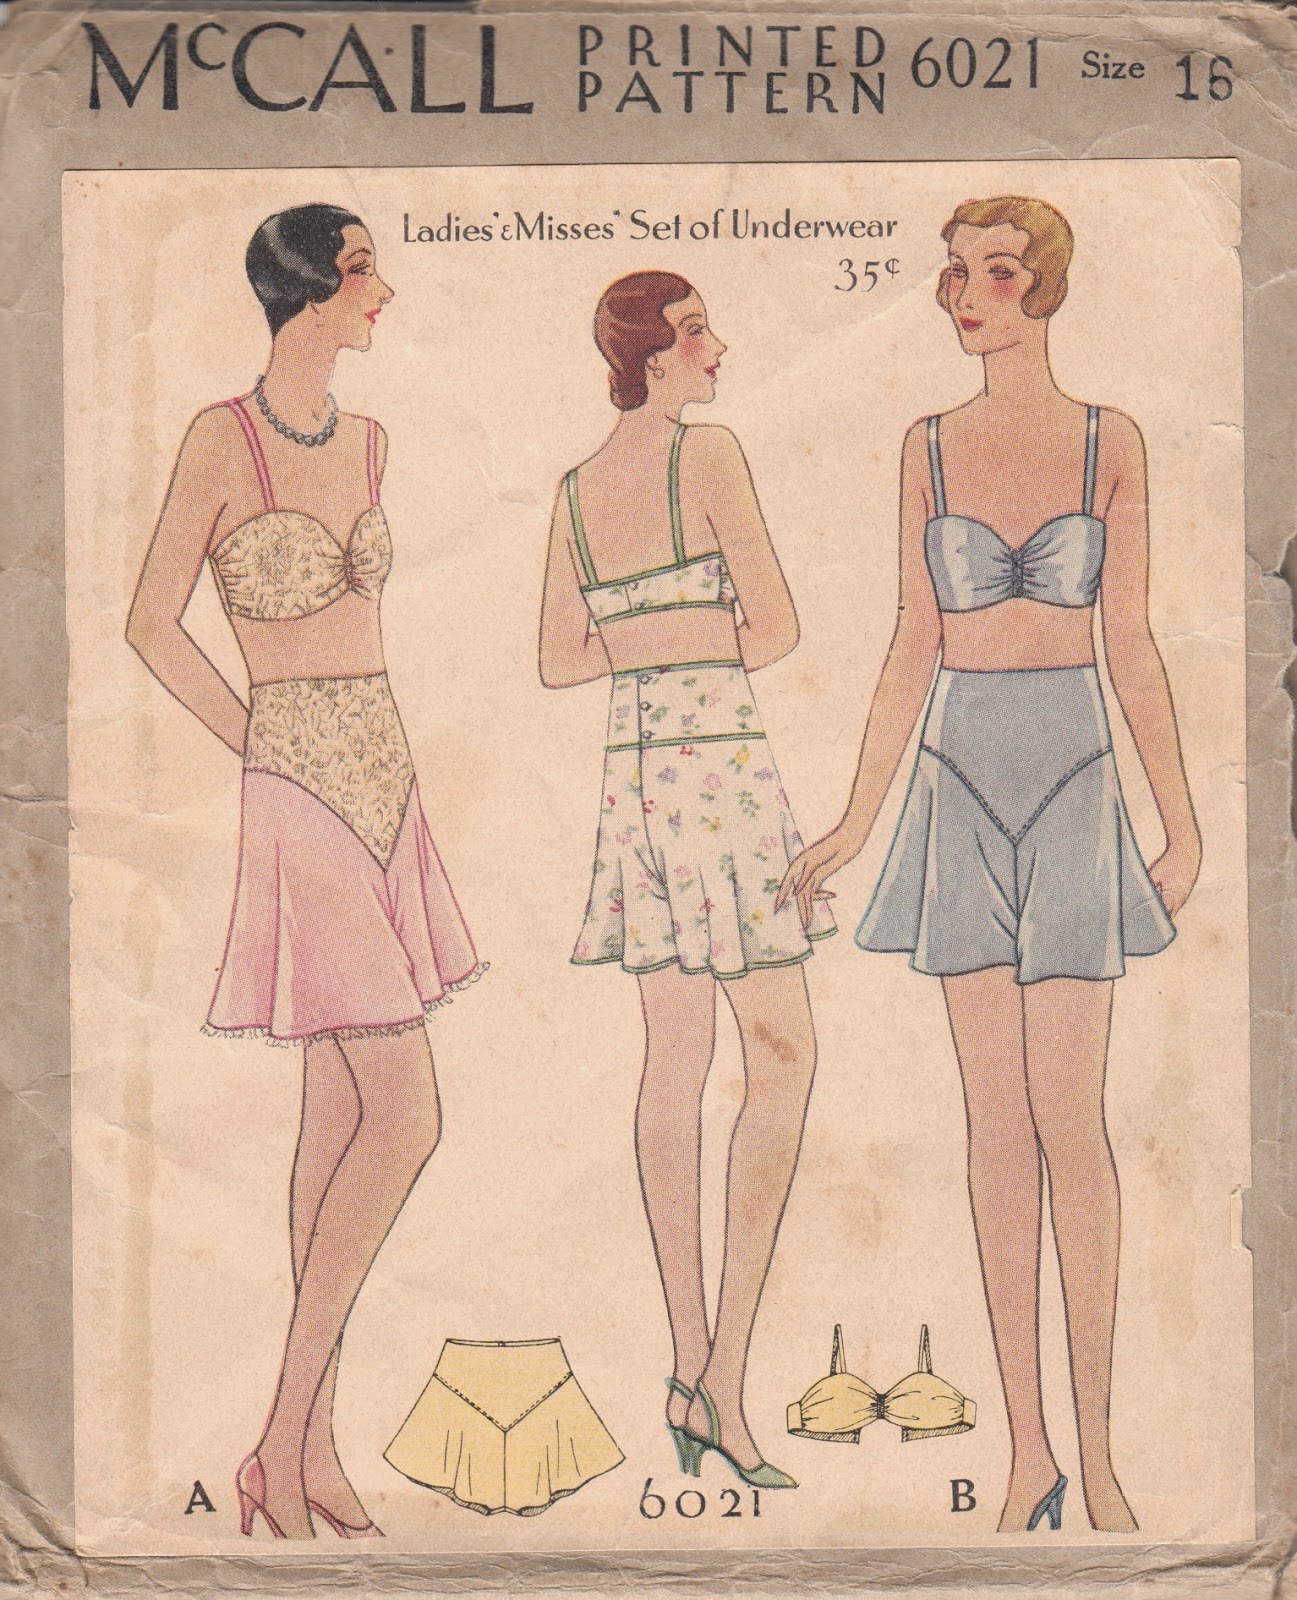
Simplicity 8162 18th Century Stays & How To Easily Bind Stays Tabs
THE MATERIALS
The outer fabric of the stays is a remnant of green mystery fabric that I had in my stash. I wasn't concerned with the fiber content as I was treating these stays as a wearable mockup. Nobody's first stays are perfect, right?
The stays are flatlined in cotton canvas and are bound in red petersham ribbon. I used heavier quilter's thread to sew the boning channels (by machine) so that they'd "pop" visually. I also used this thread to sew the eyelets (by hand). I actually find sewing eyelets to be very relaxing!
The stays are laced with 1/8" cotton tape in a spiral configuration (rather than criss-cross, as the pattern suggests).
I used synthetic German whalebone from Burnley and Trowbridge for the boning, and I really love how lightweight but strong it is. It's similar to zip ties, but BETTER!
THE PATTERN
I used Simplicity 8162, the first 18th century undergarments pattern by American Duchess. The pattern was easy to follow and the stays came together quickly, with the exception of binding the tabs.
I made a mockup in my usual pattern size (10) but I was able to lace my mockup closed in both the front and back! I ended up making the stays in a size 6 -- I get a 2" lacing gap in the back and I think a fair amount of lacing gap in the front. A few reviewers have said that this pattern is short waisted, and it is -- my body, however, is short waisted, so it worked perfectly on me. The only thing I'd alter on the stays, looking back, is to lower the underarm curve just a bit.
I made a few simple modifications to the pattern to get the more historical look that I was after. The tabs at the center front and center back of the pattern are cut squarely, but I curved the bottoms of the tabs for ~aesthetic~ reasons. I also used the tutorials on the American Duchess blog to redraw the boning channels. I added a few horizontal bones to the front of the stays which really made a difference in their shape!
I also chose to flatline the stays, rather than bagline them as per the pattern's instructions. However, this meant that I was left with a raw edge on the inside front and back edges. It doesn't bother me too much, but I might whip stitch the raw edge one day to prevent fraying.
 |
| The stays in action as part of my Hobbit costume! |
BINDING THE TABS
The stays are bound in vintage red petersham ribbon. Unlike grosgrain ribbon, which has a straight edge, petersham ribbon has a wavy edge which allows it to wrap around curved edges, such as hat brims. Using petersham for the binding made the process easier, although I can't attest to how resilient it will be over time. One thing to note: the red dye bleeds onto my chemise in the underarm area, so prewash your fabric or ribbon binding!
How to bind 18th century stays the quick and easy way:
First, use whip stitches to attach your binding to the RIGHT side of your stays.
When you get to the outer corner of a tab, insert the needle diagonally almost to the edge of the tab. Fold the binding around the corner of the tab at a 45 degree angle (essentially mitering the corners, like in quilt binding).
Whip stitch the mitered, folded edge together to get a nice, flat fold.
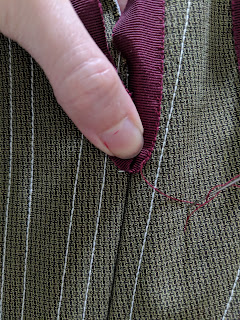
When you get to the inner corner of the tabs, shape the binding into an arc around the inner corner using the thumb on your non-dominant hand. Hold down the arc with your thumb, and with your dominant hand, whip stitch around the edge of the arc.
As always, I'd be happy to hear from you if you have any questions or comments about my sewing methods. Happy stitching!


