18th Century Cotton Print Jacket
I was charmed by the ease and versatility of 18th century separates, and felt that for my first foray into building a historically accurate, handsewn 18th century wardrobe, a jacket was a fine place to start. In the 18th century, jackets were made in a variety of fabrics, from sedate wools to elaborate silk brocades, to suit the station, season, and occasion of the wearer. I'd be wearing my jacket to a picnic in July, so decided on a fashionable cotton chintz style.
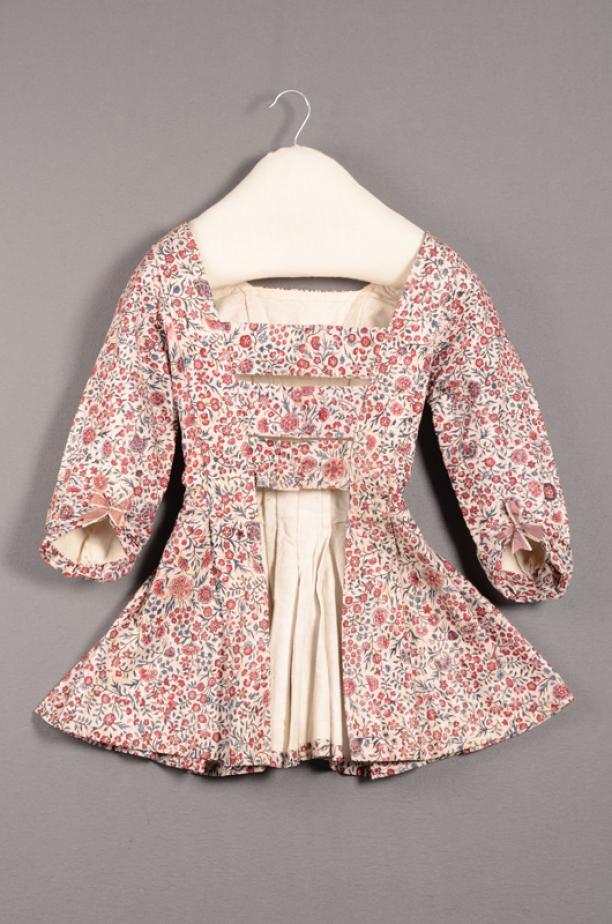
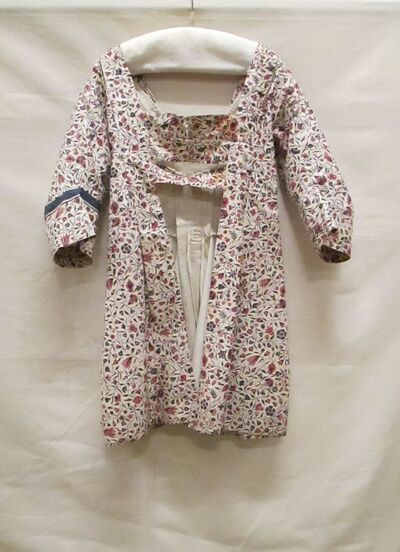
This led me to examine what were the common stylistic elements of cotton chintz jackets. I found many examples of Dutch origin (I tried to collect as many examples as possible on my Pinterest board), which drew my interest as the event I was attending was at the Dutch Van Cortland House Museum and Park. I noticed that many of these Dutch chintz jackets had tabbed stomachers, and I wanted to incorporate that into my design.
 |
| Dutch, c. 1750 - 1775 |
 |
| Dutch, c. 1770 - 1780 |
MATERIALS
The jacket fabric is a vibrant floral print from Colonial Williamsburg, Palace Bloom. It's lined in white linen from Fabric Mart Fabrics, which has become my go-to for affordable, quality fabrics -- look out for one of their sales!
THE PATTERN
I used the JP Ryan jacket pattern, View B. I shaped the fronts of the jacket to eliminate the corners where the neckline meets the front of the jacket, per the Dutch jackets I studied. I drafted a stomacher made of three sets of tabs, held together with twill tape along the outside edges.
 |
| Adjusting the front edges |
The jacket was sewn entirely by hand, which ended up being a very relaxing and manageable process! I used the construction techniques in the American Duchess Guide to 18th Century Dressmaking and Costume Close-Up. I highly recommend in investing in these two books to develop a greater understanding of the techniques used to create 18th century garments!
 |
| Using the prick stitch to sew the shoulder pieces to the jacket |
 |
| Whip stitching the lining |
 |
| Using the edge stitch / edge hem stitch to join the outer and lining fabrics |
 |
| A back-stitched lining seam |
In my mock-up, I shortened the waist of the jacket by 0.5", but after the jacket was complete, I found the jacket too short, so I should've left it alone. To help "snug" the jacket to my waist, I stitched a length of narrow twill tape to the each seam -- when I put the jacket on, I tie this tape around my waist and then pin the stomacher and front edges of the jacket down.
Overall, I'm very pleased with this project. I've worn it a few times since I've made it, which is testament to a successful project in my opinion! It's colorful, fun, and flattering, and I can easily dress myself.
 |
| My hair styling is horrendous here (it was a hot and windy day!) but the back seams of my jacket look great |


