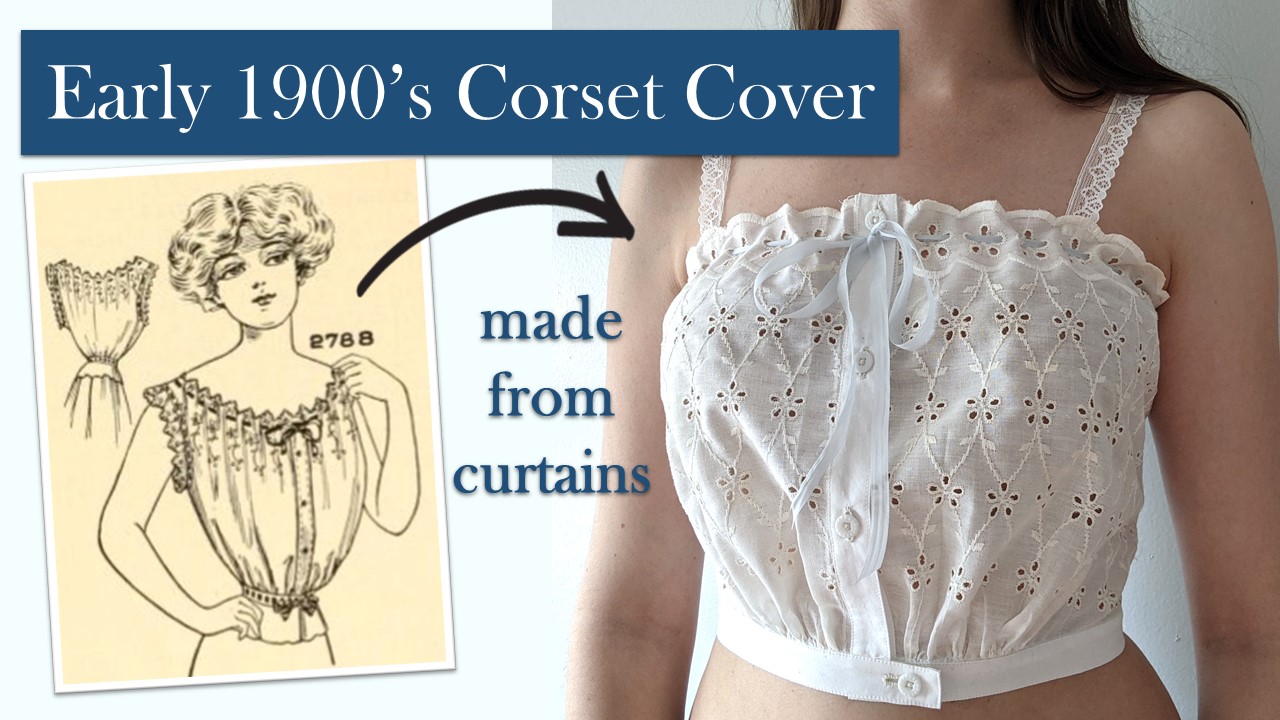
How to Make an Edwardian Corset Cover Without a Sewing Pattern
You can watch my Youtube video for an in-depth look tutorial for making this corset cover.
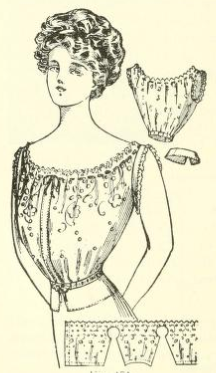
From the American System of Dressmaking, published in 1912:
The simple corset cover that involves little labor in the making is the one that appeals to the majority of women. The one illustrated in Fig. 332 is just full enough to be pretty under the fashionable blouses, and is especially designed for embroidery flouncing. Some make them to extend straight around the form below the arms, but as this is so low it does not afford sufficient protection. To allow it to come higher, place the front and back drafts on the embroidery and cut out the armholes large enough to permit the cover to come up well under the arms.
It proved impossible to find embroidered fabric that was wide enough to extend to my shoulders, so instead I took the construction concepts from the book and made one of those corset covers that doesn't "afford sufficient protection."
My corset cover is simple enough to be sewn up in a few hours, yet full enough to add the right amount of pigeon-breast "floof" under my Edwardian shirtwaists.
Materials
For this project, I repurposed a broderie anglaise curtain valance. You could also attach a strip of wide lace or broderie anglaise to a strip of white cotton fabric - I found several examples of this style of corset that were made that way. The width of your embroidered fabric (or fabric + embroidery/lace) should equal the distance between your overbust to your waist, with ease included. For me, this was 10 inches.
You'll also need:
- 1/4" or 1/8" wide ribbon for threading through the neckline
- 4 buttons
- lace trim, ribbon, or fabric, for making the straps
- matching fabric (white cotton if you're going after historical accuracy) for creating the button placket and waistband
Instructions
Step 1: Cut a length of embroidered fabric that equals your bust measurement + 5" (or more, if you'd like additional ease.
Step 2: Wrap that length of fabric around your body and mark the placement of the side seams and waistline. I like to use a loop of elastic around my waist to help me get a straight line for fitting.


Step 3: Cut your long strip of fabric into 3 pieces, cutting along the side seam placement line. Each front panel of my corset cover ended up being 11 inches wide. Ideally, these front panel should've been a smidge wider, but I had limited fabric.
Step 4: Pin together the 3 pieces of fabric, wrong sides together (the corset cover will be assembled with French seams). To create the side seams, mark a spot 1.5 inches at the waistline and another spot 0.25 inch at the top. Connect both spots with a chalk line to create a tapered, triangular seam. The depth of this seam will vary based on the shape of your body, so try out different measurements before making your seams. Stitch along this chalk line with a 0.25 inch seam allowance, then trim the seam allowance, fold the fabric to enclose the seam allowance, press, and sew another line of stitches.
Step 5: Trim the bottom of the corset cover following the waistline marking your made in Step 2, leaving about 0.5 inch seam allowance. Sew a line of gathering stitches along the bottom of the corset cover.
Step 6: Finish off the front edges of the corset cover with a button placket. For my placket, I cut out 2 rectangles that measured 2 inches wide and 10 inches long, which included a quarter inch of seam allowance on all sides. Topstitch around the placket. Leave the bottom edges of the placket unfinished, because these will be covered by the waistband.
Step 7: Cut a strip of fabric to become the waistband. This strip should be 2 inches long and wide enough to wrap around your waist with some overlap, and seam allowances.
Step 8: Pull on the gathering threads at the bottom of the corset cover to fit the waistband (minus the overlap and seam allowances). Stitch on the waistband.
Step 9: Mark the placement for buttons and corresponding buttonholes. I used small, antique white porcelain buttons, which were generally used for undergarments. The overlap of the waistband is to accommodate the staggered placement of the button on my waistband, so that I wouldn't have a button/buttonhole snagging on my corset busk. Sew the buttonholes and buttons.

Step 11: Thread a narrow ribbon through the holes in the embroidery to cinch in the top of the corset cover.


Video Tutorial
You'll find detailed, step-by-step instructions on how to make this simple corset cover in my YouTube video below:
As always, I welcome you to reach out to me if you have any questions! I also love seeing what you make from my tutorials - feel free to tag me on Instagram @pour_la_victoire