Making an 1880s / 1890s / 1900s Chemise

As I build out my 1890s wardrobe, it became clear that the threadbare early 1800s chemise I had been using wasn't sufficient. I wanted to make a hard-wearing cotton chemise, appropriate for 1880-1910, with washable lace trim and few bells and whistles - I'll make frothy Edwardian combinations with lace insertion and silk ribbons at another time.
A search through 1880s-1910s pattern magazines, clothing ads, and auction websites revealed three categories of chemises:
- the simplest style of chemise with a high neck and front button placket; sometimes the neckline and placket are trimmed with lace
- the square neck style featuring a yoke or insert of lace, embroidery, pintucks, and/or insertion; this style appears more common for the 1880s and 1890s
- the gentle U-shape or V-shape curved neckline framed by lace or embroidery; the lace or embroidery often holds a ribbon or drawstring that helps gather the neckline to fit
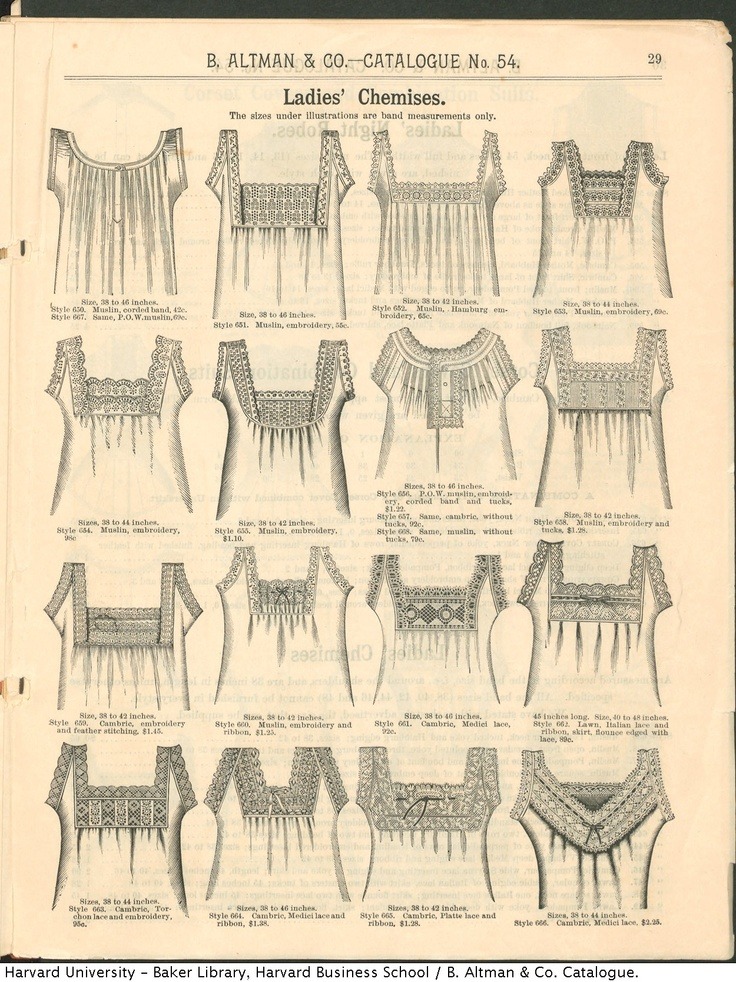 |
| B. Altman & Co. Fall/Winter 1886/1887 Catalogue |
 |
| H. O'Neills Fall & Winter Catalogue 1890-1891 |
 |
| H. O'Neills Spring & Summer Catalogue 1898 |
 |
| R. H. Macy & Co. Spring/Summer Catalogue 1911 |
Scans of catalogues and patterns magazines are excellent resources because they have precise dates, unlike items in museum collections or online auctions. It's interesting to see how some styles of chemise were available for about 20 years - one day I'll make a chemise with that pointed yoke of lace!
You can view more examples in my Pinterest board.
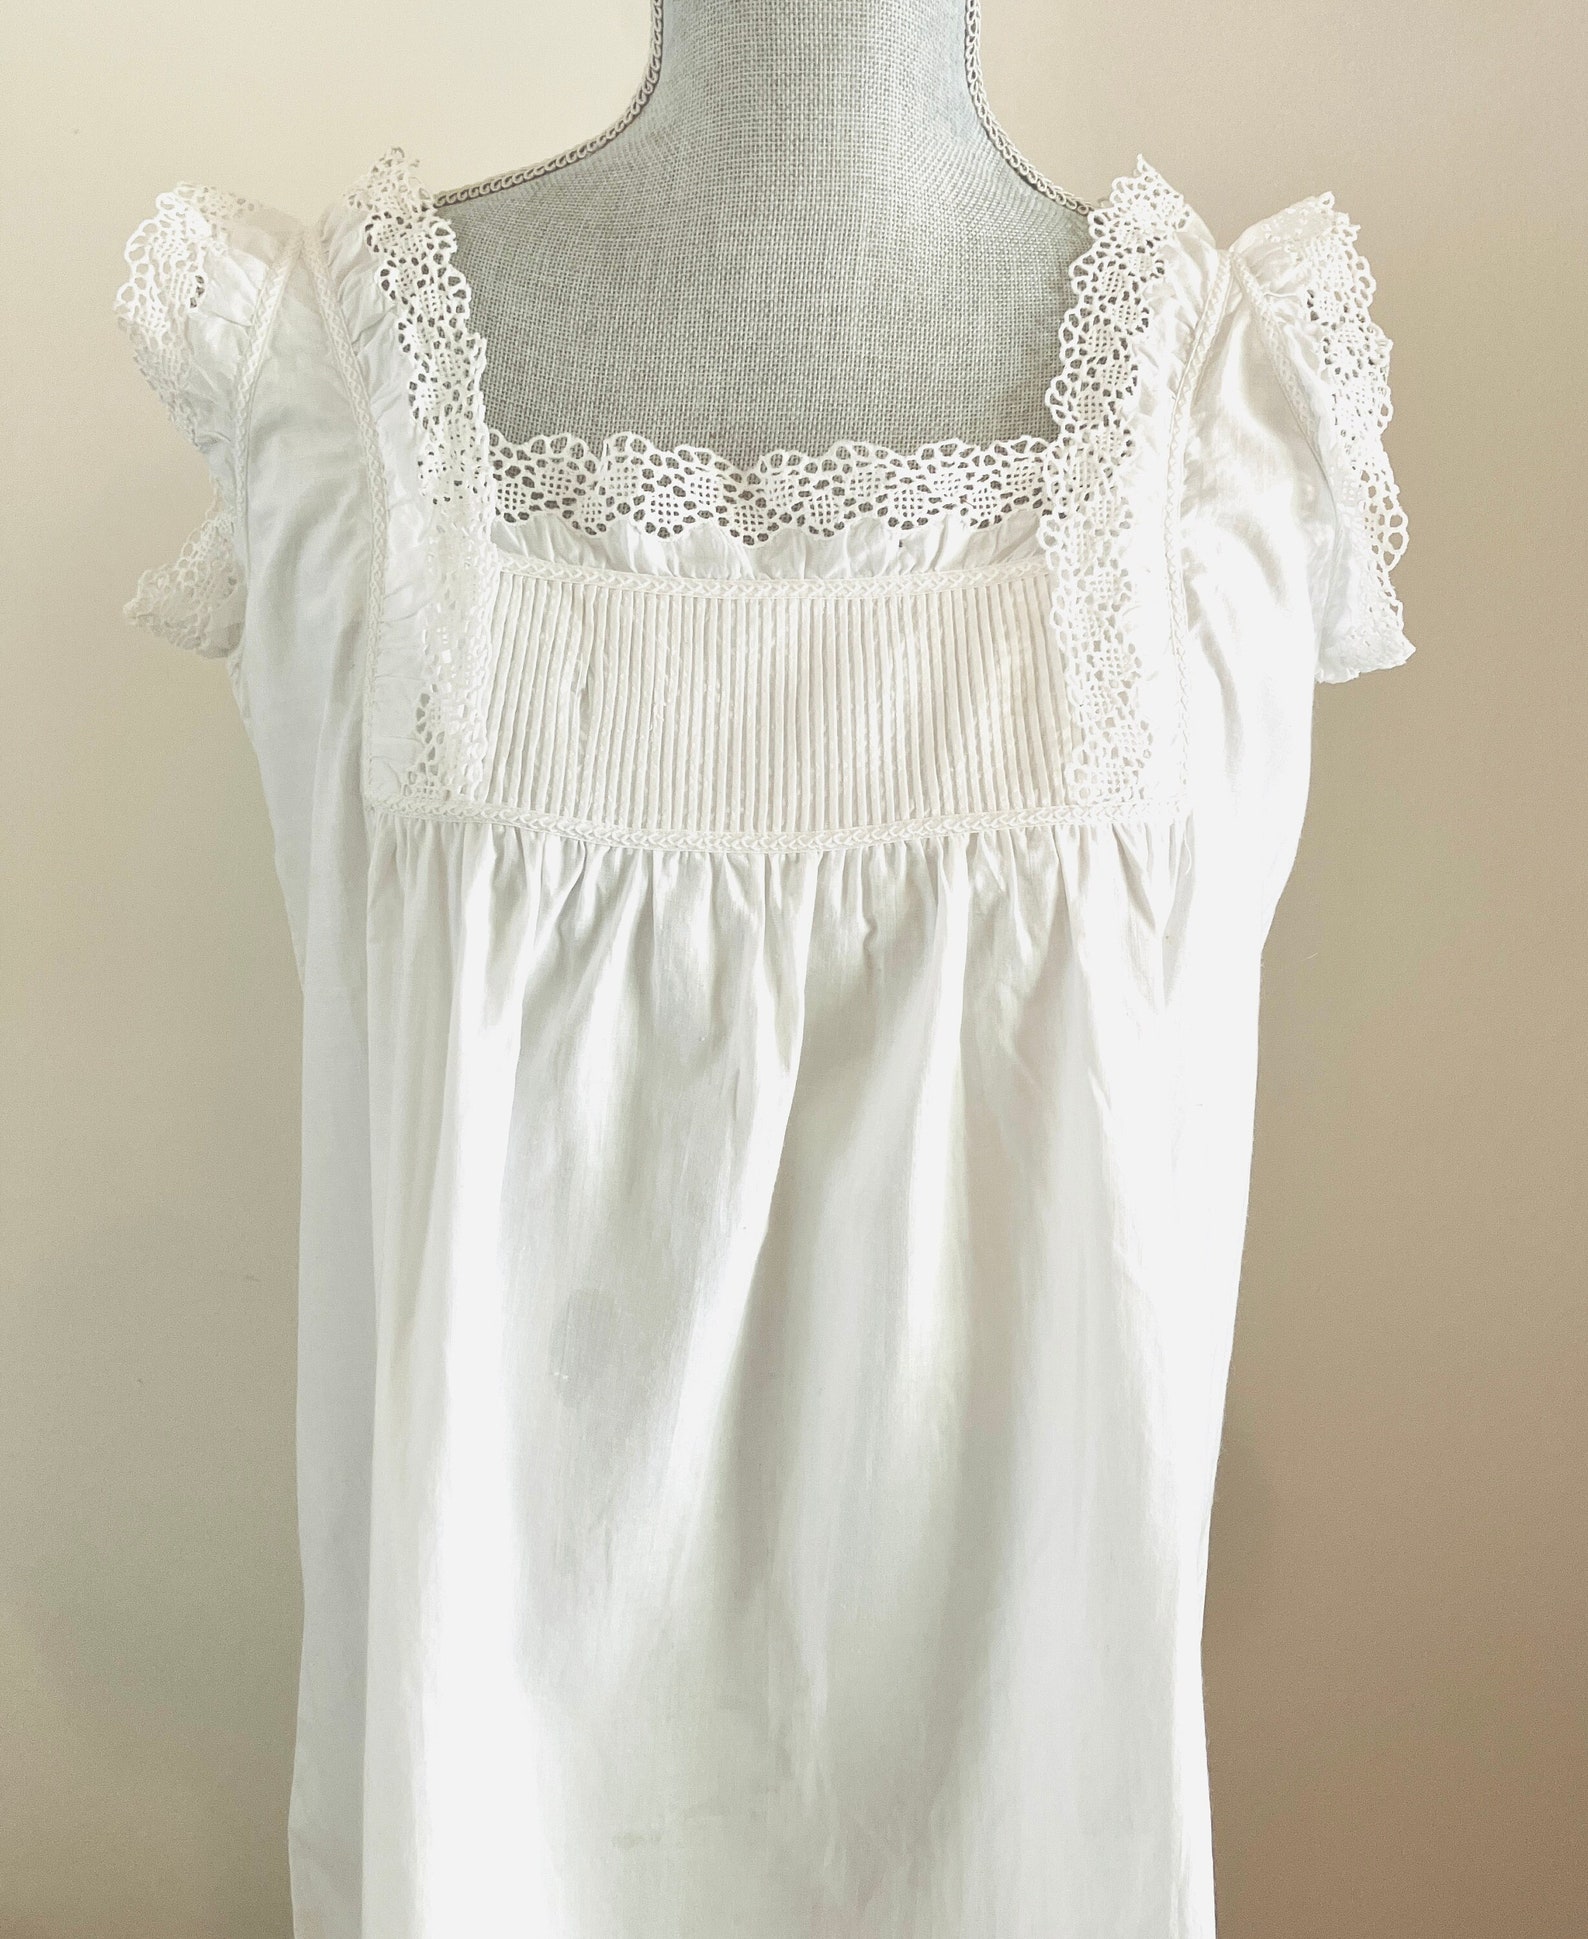
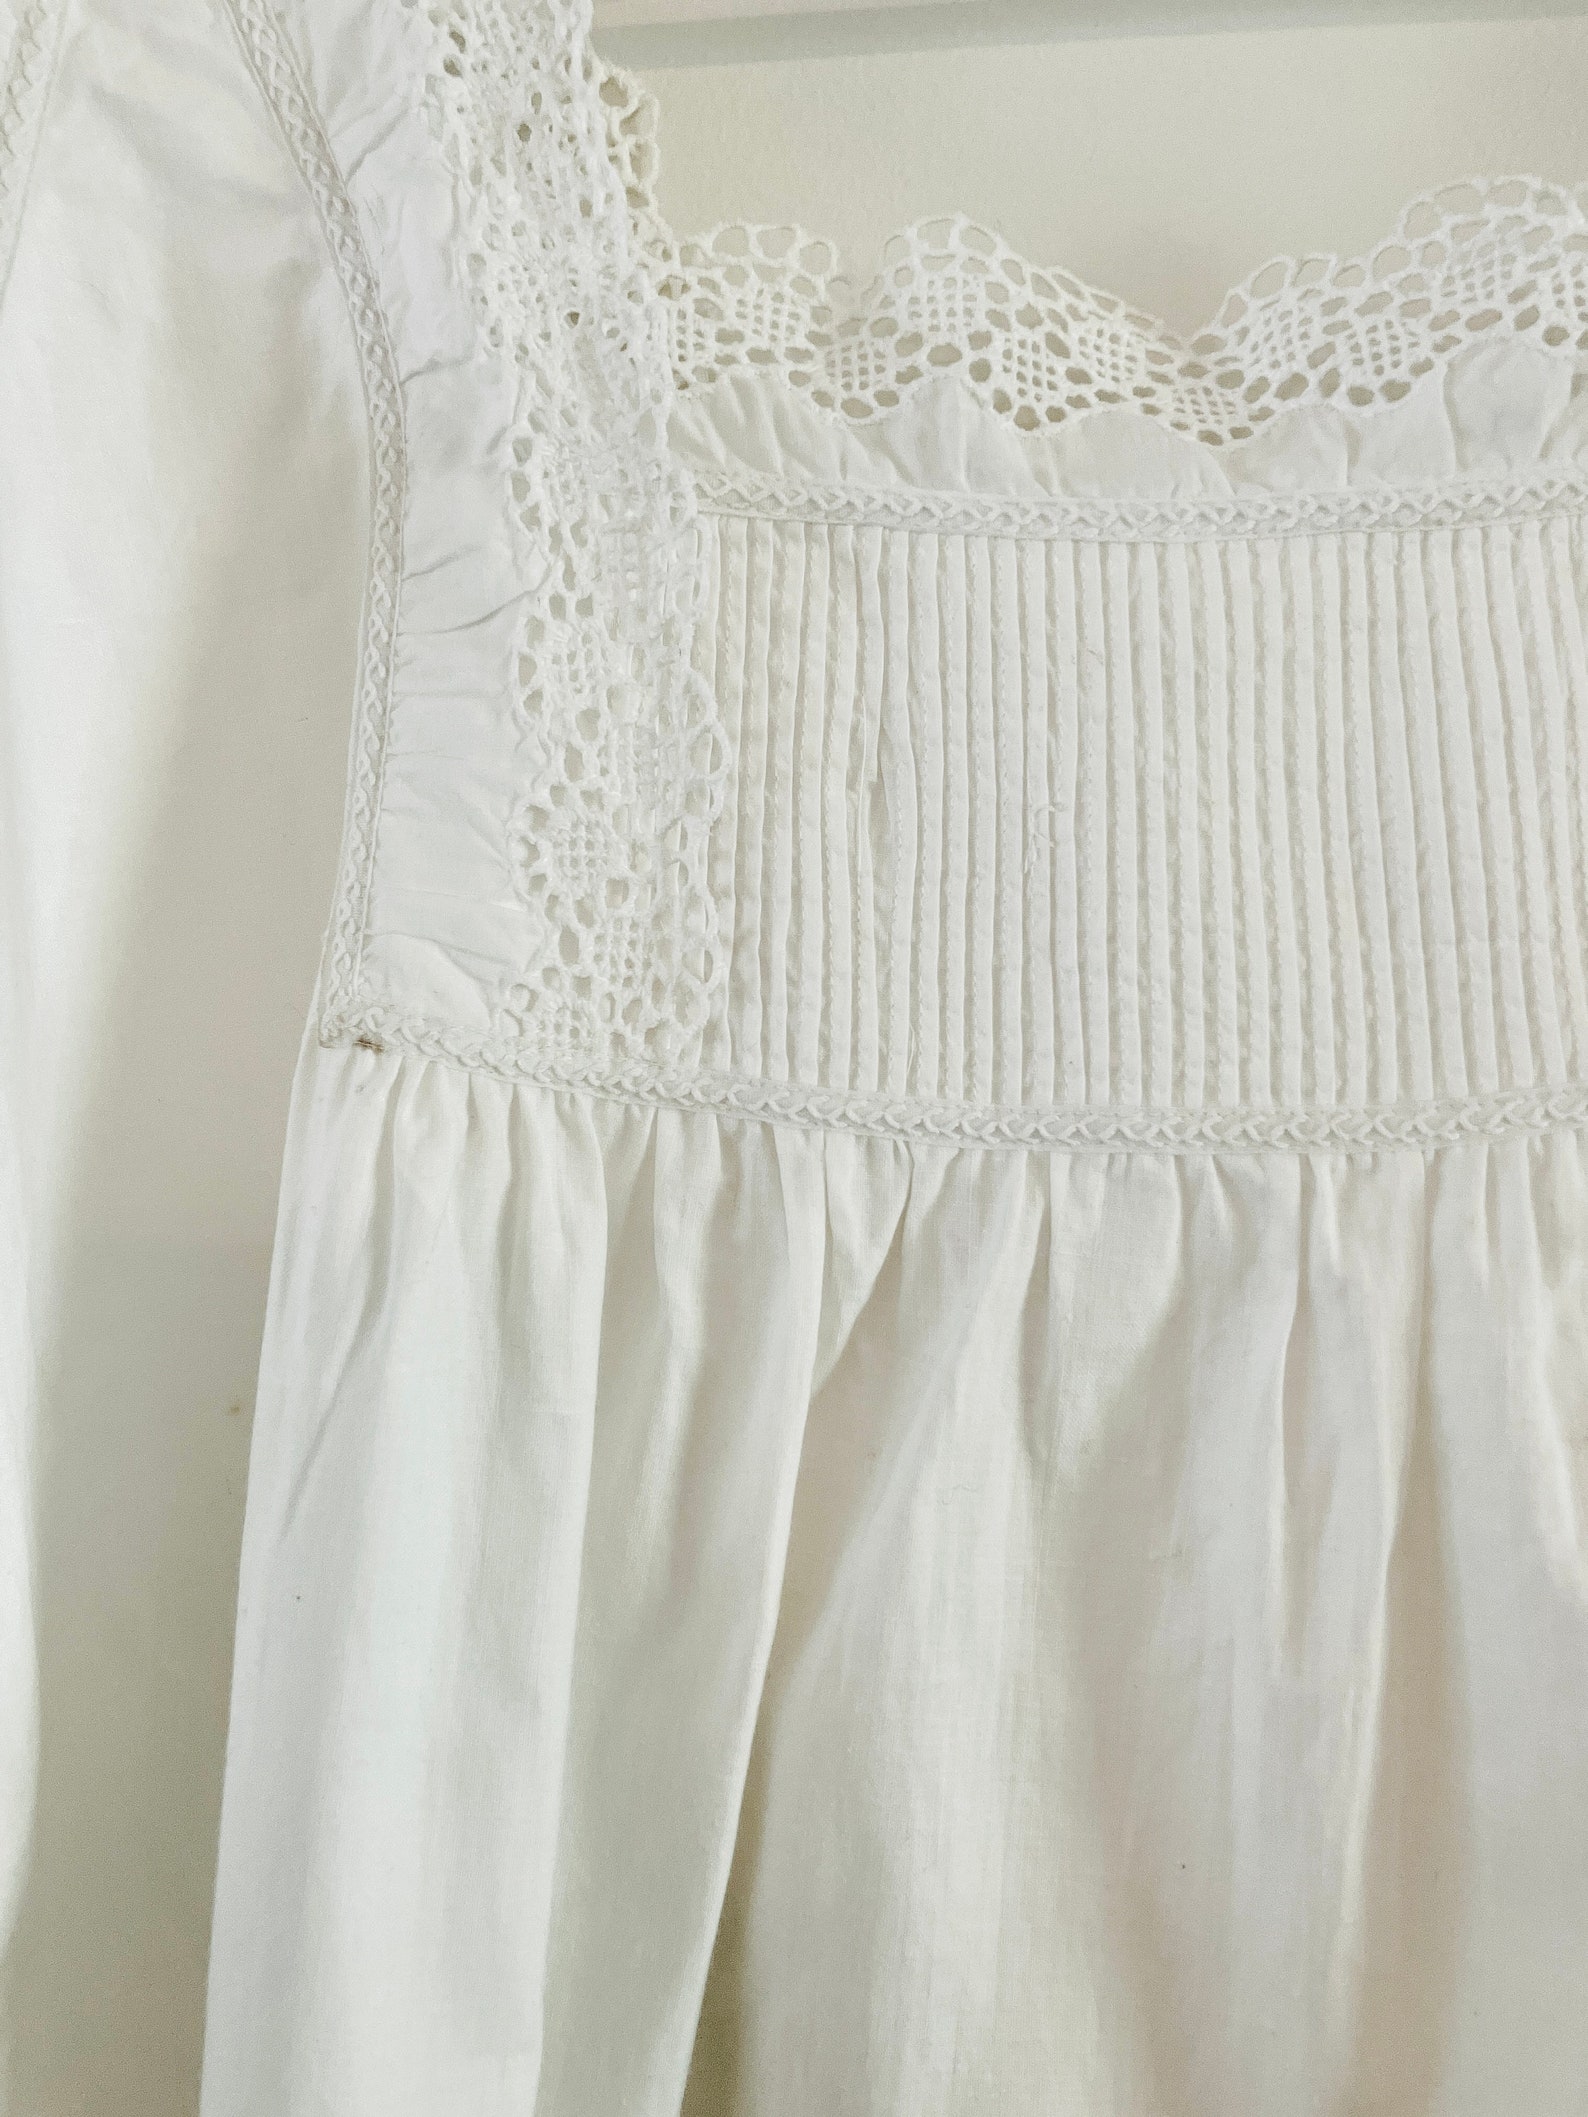
I was inspired by this chemise on Etsy, from the seller Sharteeks. I really liked the pintucked yoke and bands decorated with feather stitching - working on my embroidery skills is a goal for 2024.
For the pattern, I used the drafting instructions in the Manual of Needlework and Cutting Out, 1907 by Agnes Walker.


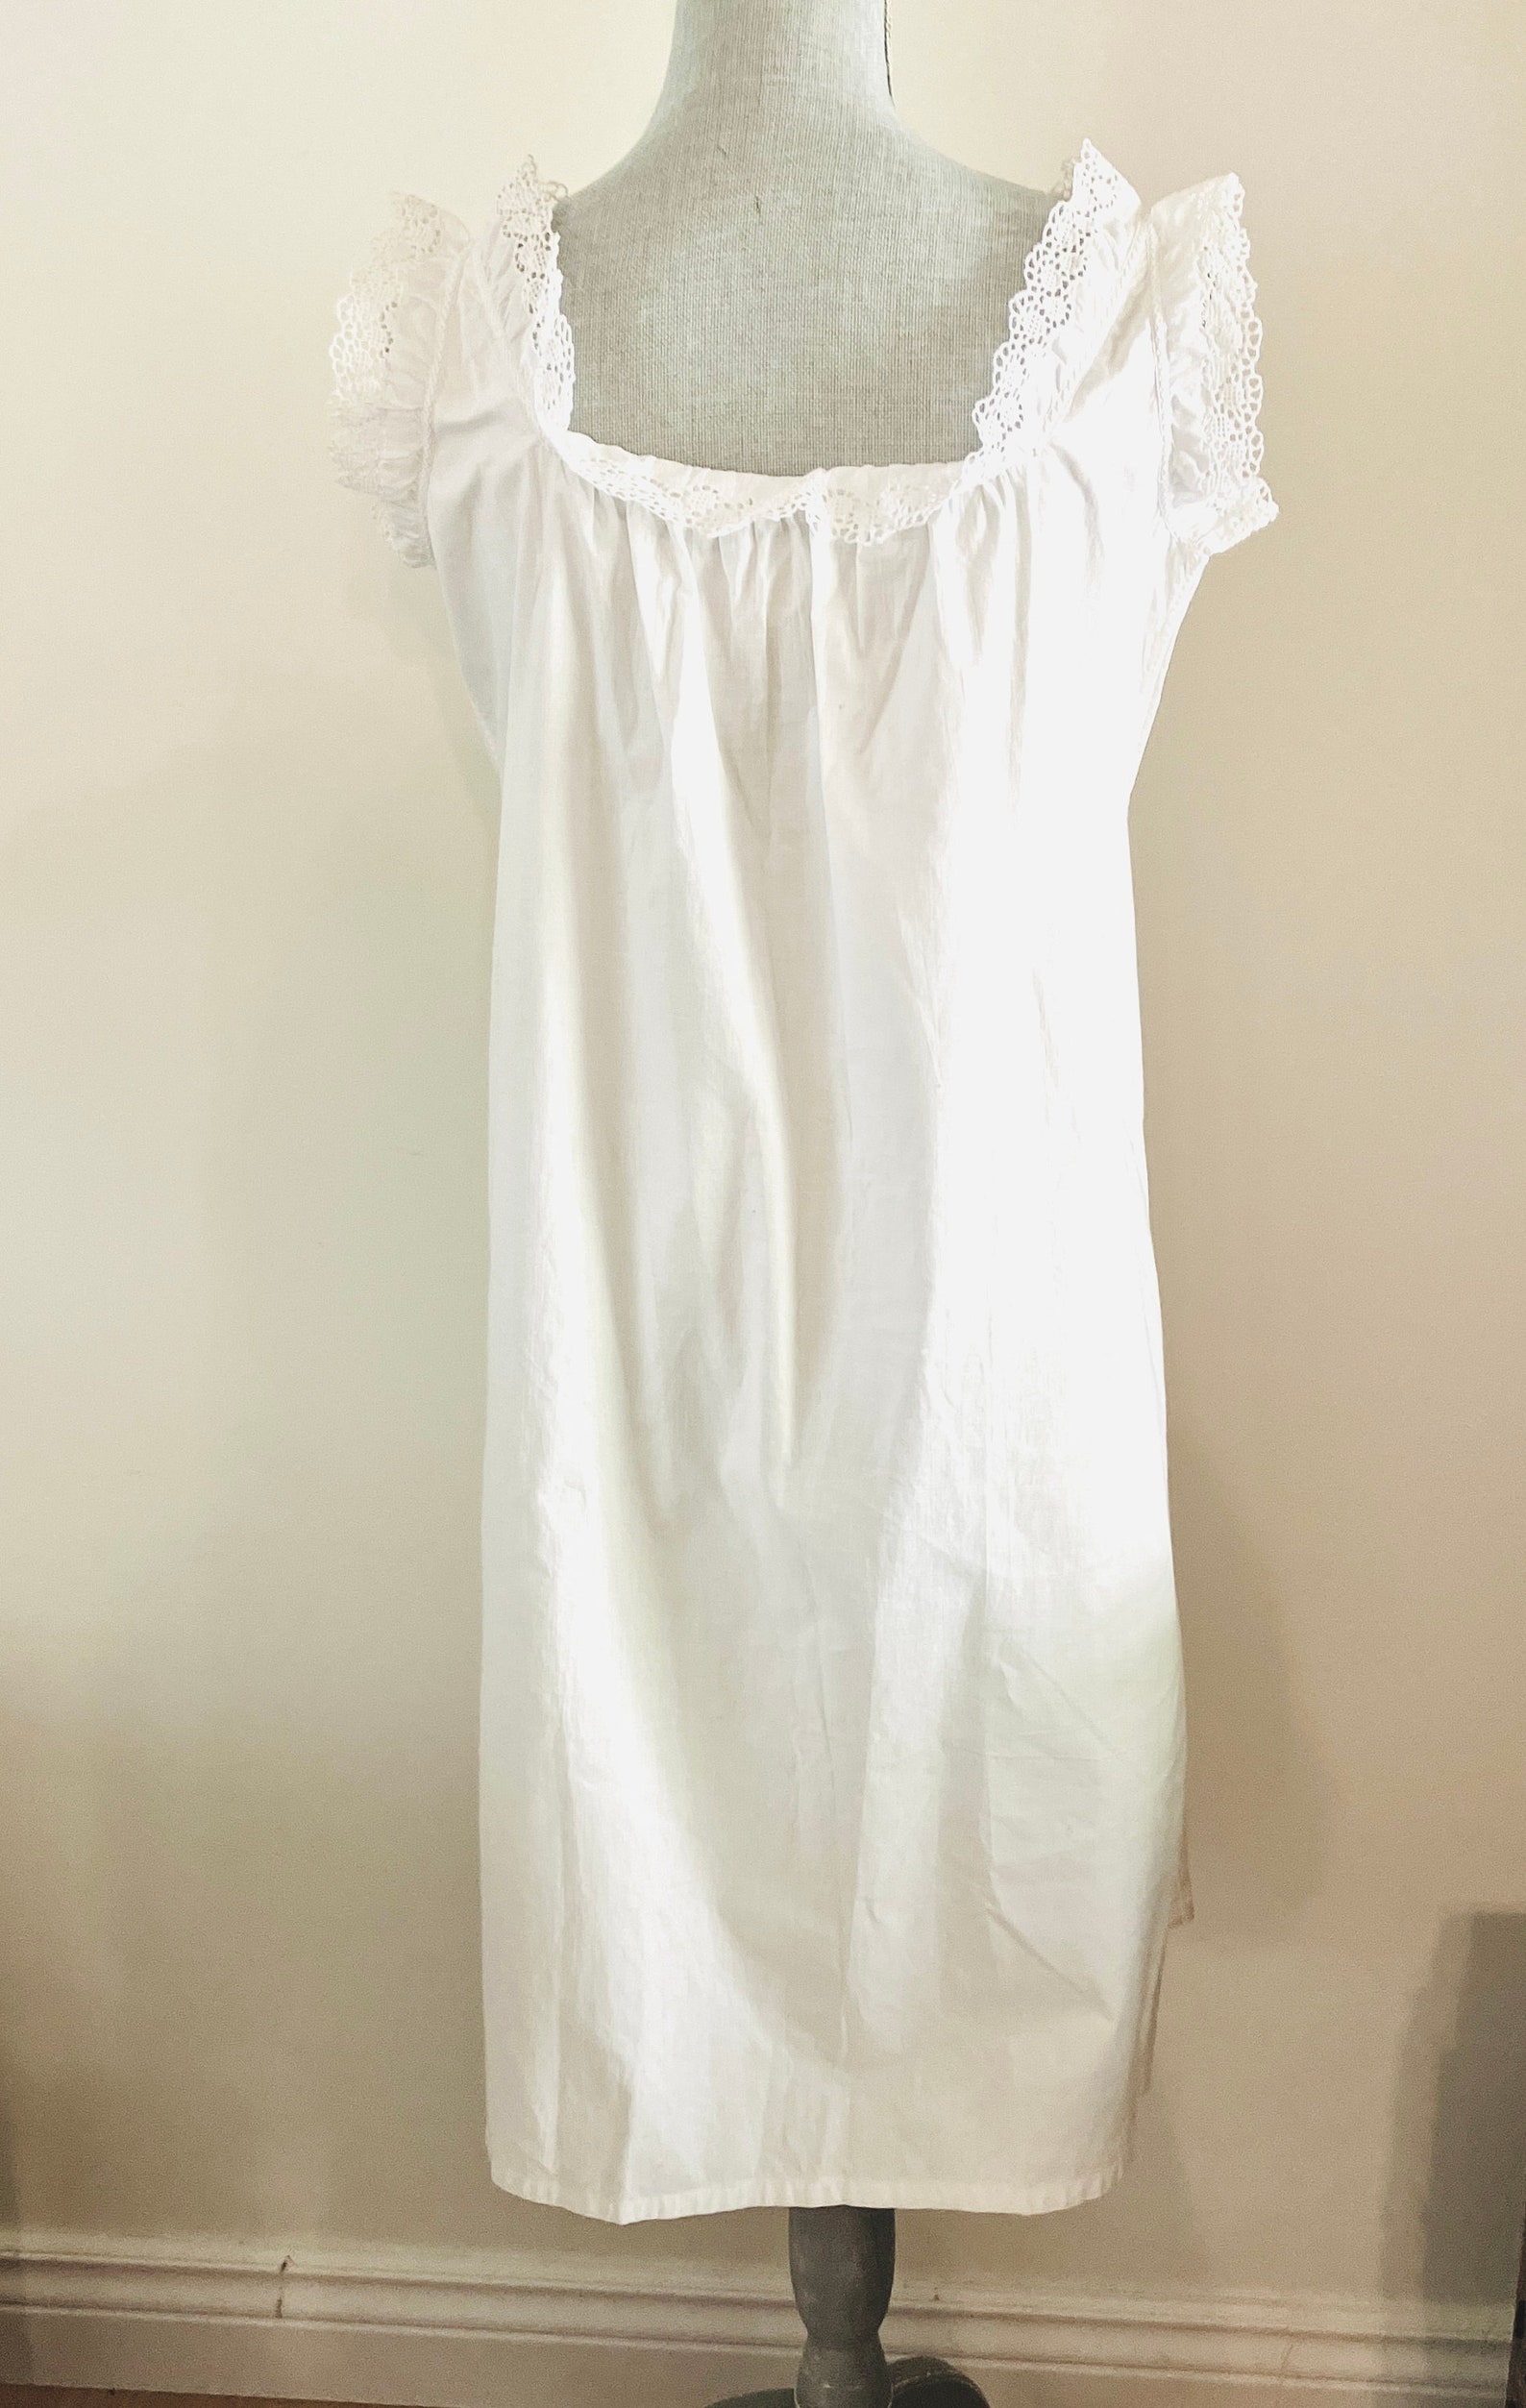
The chemise draft was very easy to plot on paper. I removed 2 inches of length from the hem and some width from the side seams as I'm petite. On my draft, you can see several iterations of necklines as I was deciding what design to go with. My final neckline is trapezoidal in front and gently scooped in back. The original draft has quite a high neckline and I think it was meant to be finished with a band and placket.
For this project, I'm using cotton lawn from Dharma Trading - I had some yardage leftover from previous projects. This year will be the year of sewing through my stash! The eyelet lace is modern and generic, but I had plenty of it in my stash.
First, I sewed the side seams with narrow French seams (I used a 3/8" seam allowance throughout the chemise) and hemmed the chemise by machine. I then flat felled the shoulder seams and ran gathering threads at the front and back necklines. To reinforce the inner corners of the front neckline, I staystitched with a small stitch on my machine, and then almost clipped to the corner.
I used the piece cut out from the neckline area to create the pintucked yoke.


Next, I worked on the yoke piece. The eyelet lace is 1.5x longer than the top of the yoke. It was gathered and sewn to the yoke, wrong sides together. Then I sewed on a 1" wide bias strip, trimmed the seam allowances, and folded down the other long edge of the bias strip to the right side of the yoke.
The bias strip was topstitched on my sewing machine and then decorated with double feather stitch embroidery using some vintage (?) mouline thread in my stash. I experimented with DMC perle thread in size 8, but it was just too prominent for the scale of the project. Ultimately I think the slight contrast with the peach colored vintage mouline thread is very cute!
I ended up doing a double feather stitch rather than regular feather stitch because my bands ended up wider than those of the inspiration chemise. This was a very easy embroidery stitch and I highly recommend you give it a try!


Replacing the bias strips in this chemise with a cotton tape would certainly have cut down on sewing time, but I didn't have anything suitable in my stash. I imagine tape was used in the industrial production of chemises like this. I even found that braid with the feather stitch embroidery on it was sold by retailers like H. O'Neill & Co. (New York).
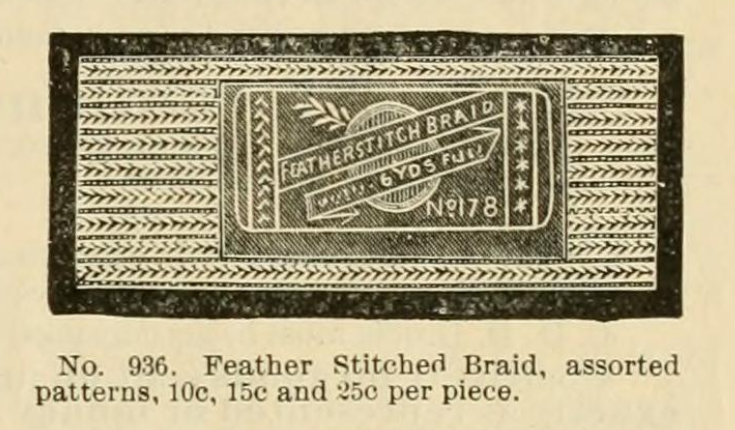 |
| Feather Stitched Braid sold by H. O'Neill & Co. in their Spring/Summer 1898 catalog |
Basically, the lace is sewn to the chemise neckline and arm holes wrong sides together, with the seam allowances facing the right side of the chemise. These seam allowances are then covered in the bias tape or braid. Genius!


Trimming the seam allowances on the gathered areas was pretty tricky - I had to be careful to not snip into the fabric. You could replace the gathers at the front and back neckline with pintucks.
The spacing of the embroidery is inconsistent throughout the chemise, but I don't mind. I find it charming that the embroidery isn't perfect.


The finished chemise is dainty and ruffly and a joy to wear. I'm looking forward to pairing it with skirts in the warmer weather!